So excited to give you the juicy details of our kitchen remodel. Tay and I were generally pleased with how our remodel turned out, but the kitchen exceeded all expectations. This post is dedicated to the ups and downs we experienced while remodeling our kitchen. Additionally, you can find links to all of the products/contractors mentioned today at the bottom of this post.

Ahh the beloved gas range. This is perhaps my favorite appliance purchase to date. The kitchen was originally outfitted for an electric stove, but having a gas range was at the top of my wish list. We had to have a gas line installed to make this possible but it was well worth the cost ($280); not to mention that the cost of gas in Utah is cheaper than it is elsewhere, which is something to consider when making the choice to buy gas vs. electric appliances.

Design is all about the details. Our disposal switch was originally under the sink (not very ideal), so when I had the chance to design my own kitchen I opted for a push button on the counter (see the brushed nickel button in the bottom right of the picture below). I love this look because it is both practical and minimalistic.

One of the issues that I encounter as a designer with a sweet little child is that Owen loves to walk around the house touching everything within his reach. This includes the fridge, which he often digs through as he mimics me making dinner. Tay and I knew we wanted stainless steel appliances for our kitchen, but didn't want the hassle of cleaning them. Luckily for us we found this fridge, which despite looking like stainless steel is actually platinum (a.k.a smudge proof). Unfortunately they don't make platinum dishwashers, or stoves. It also happens to be counter depth, which makes the entire kitchen look and feel seamless.


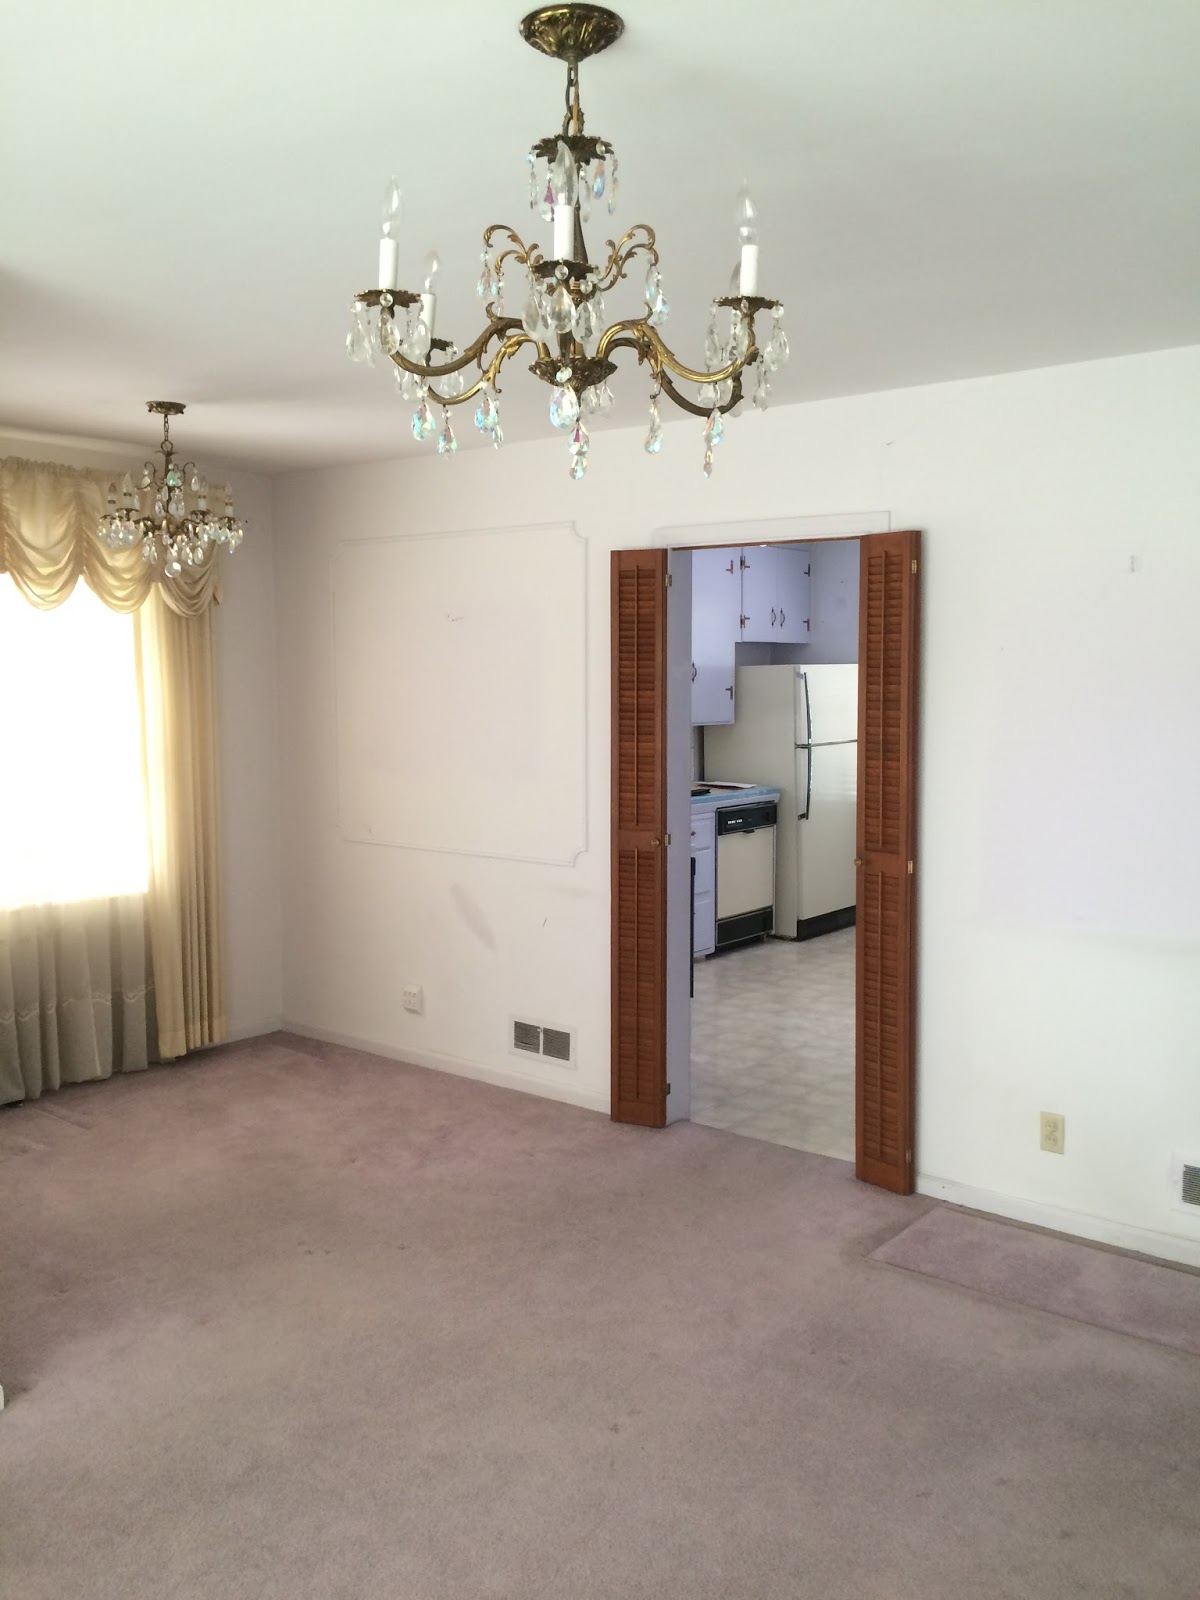
In my last post you'll notice that the kitchen floor was at one point covered with linoleum (gagging sound) while the rest of the house was covered in this oh so delightful shade of pink carpet. When we started remodeling we decided that we wanted hardwood floors in the kitchen to give it some warmth, but weren't sure that we wanted to go with the thin slat style of flooring to match the rest of the house. We contemplated going with a small scale tile, but in the end our love of hardwood floors won out.
In an attempt to save money I told my husband that I could probably refinish the floors myself and put the savings towards new floors in the kitchen. I rented a floor buffer and went to town. After an entire day of buffing the floors it looked like I had literally done nothing and my arms felt like limp spaghetti noodles. After talking with Tay we decided that there were certain things best left to professionals. We called around and everyone was booked out a couple of months so we ended up going with this company that told us they could start in two weeks. Unfortunately for us we interpreted that to mean that they would start working on the floors in two weeks. Not so. They delivered the floors and told us they would be back in two weeks to finish. Despite the misunderstanding they did a really good job and were able to match the floors in the kitchen to the rest of the house.


Initially Tay and I were thinking about going with a sort of bluish grey color for the cabinets, but ended up deciding on this light gray color from Benjamin Moore as it makes the area feel more spacious. We also decided to forgo having cabinets on both sides of the sink because I wanted to have a more open concept for the kitchen and I wanted to have some shelves to showcase our dinnerware. We got multiple bids for our cabinets, but ended up going with Ryan Reeder because we wanted a custom color, which we couldn't get at Ikea. He also built and installed our shelves, which were a nightmare to install due to the plaster walls. I could write a whole post on my disdain for plaster, but I'll save that for another time.
Throughout this whole process Tay and I attempted to do everything we could on our own, but as it is with everything we ended up needing some help along the way. The contractor we were originally going to go with was booked until January of next year (he is doing our basement) so he referred us to his son in law and hands down so happy with his work! They are easy on the wallet and we kept using them for everything we didn't feel comfortable doing ourselves (base molding, tile, mudding, etc.). They did a fantastic job despite all the joy surprises inherent in remodeling an old home like ours. I loved their work so much I used them for a condo remodel I was doing at the same time as our home remodel and my client was so happy with the work they did that she is now going to hire them for her vacation home.
Seriously if you need a contractor call them. I'm happy to give anyone their contact info.
Products:
FRIGIDAIRE, FRIDGE | SAMSUNG, DISHWASHER | SAMSUNG, GAS STOVE | MICROWAVE | DELTA, FAUCET | FARMHOUSE SINK | CABINETS | HARDWARE | MARBLE BACKSPLASH | GROUT (for tile) | LIGHTING (Pendants) | RUG | QUARTZ COUNTERTOP | HARDWOOD FLOORING | LIGHT (Dining Light) | BENCHES (custom) | TABLE | CHAIR | PILLOWS
Contractors:
Please feel free to comment or email me for information on the contractors we used.